SHS (square hollow section) STEEL CORROSION AT CONCRETE SLAB PENETRATION.
 This is a problem caused by electrolysis, where a steel post, flash-coated with zinc, is in contact with concrete, damp, and air.
In most cases the SHS is in good condition within a few centimetres of the surface of the embedding concrete, rusting taking place at the junction.
In concrete slab construction, for decades it was allowable to have the SHS posts exposed at the slab perimeter, with no insulation. Properly hot-dipped galvanised posts survive longer in this situation, but unprotected posts straight from the shop are susceptible, es pecially when soil, garden-beds, et cetera are built up against the footings.
THE FIX is tedious and time-consuming.
1) Clear all obstructions (paths, bricks, garden, sheds, water tanks etc..) from around each steel post.
2) Excavate a good-sized hole (say 500mm square at least) exposing the post where it penetrates the slab, down to the concrete footing. This could be any depth.
3) The extent of the corrosion should now be apparent. In the event that the post has completely rusted through, read further, but in most cases it is now necessary to expose the rust area by chipping away concrete both at the slab and footing until clean steel appears. Use a small rotary hammer with a 25mm chisel. This will entail creating a shallow pit in the footing around the post.
 The necessity of having a good-sized hole in which to work will now be obvious: all debris must be cleaned out neatly.
4) Having exposed the post to clean steel, chip off all loose rust. A rattler attachment on the hammer-drill is ideal. It is not necessary to grind down to bright steel. Clean out the hole; a drum vacuum-cleaner is useful.
5) Coat the post with phosphoric acid (a Rust-Converter type of product), which will pool in a beneficial way at the footing. Brush the liquid  liberally for a few minutes, then leave to dry, when it will form a protective coating, slightly glossy. Any termite-proofing that may be exposed should be left undamaged if possible.
6) At this stage prepare steel boxing that will contain concrete which will case the exposed post from the footing to the slab-capping. Order a top-hat section of sheet (say 0.75mm) that can be trimmed to the lengths needed for each post. The section must be 300mm wide and 100mm deep, with flanges of say 50mm against the slab. Corners need a bigger section, shaped similarly to cover the post 100mm thick and extending 100mm on each side. Order the stuff in long lengths and cut off what you need.
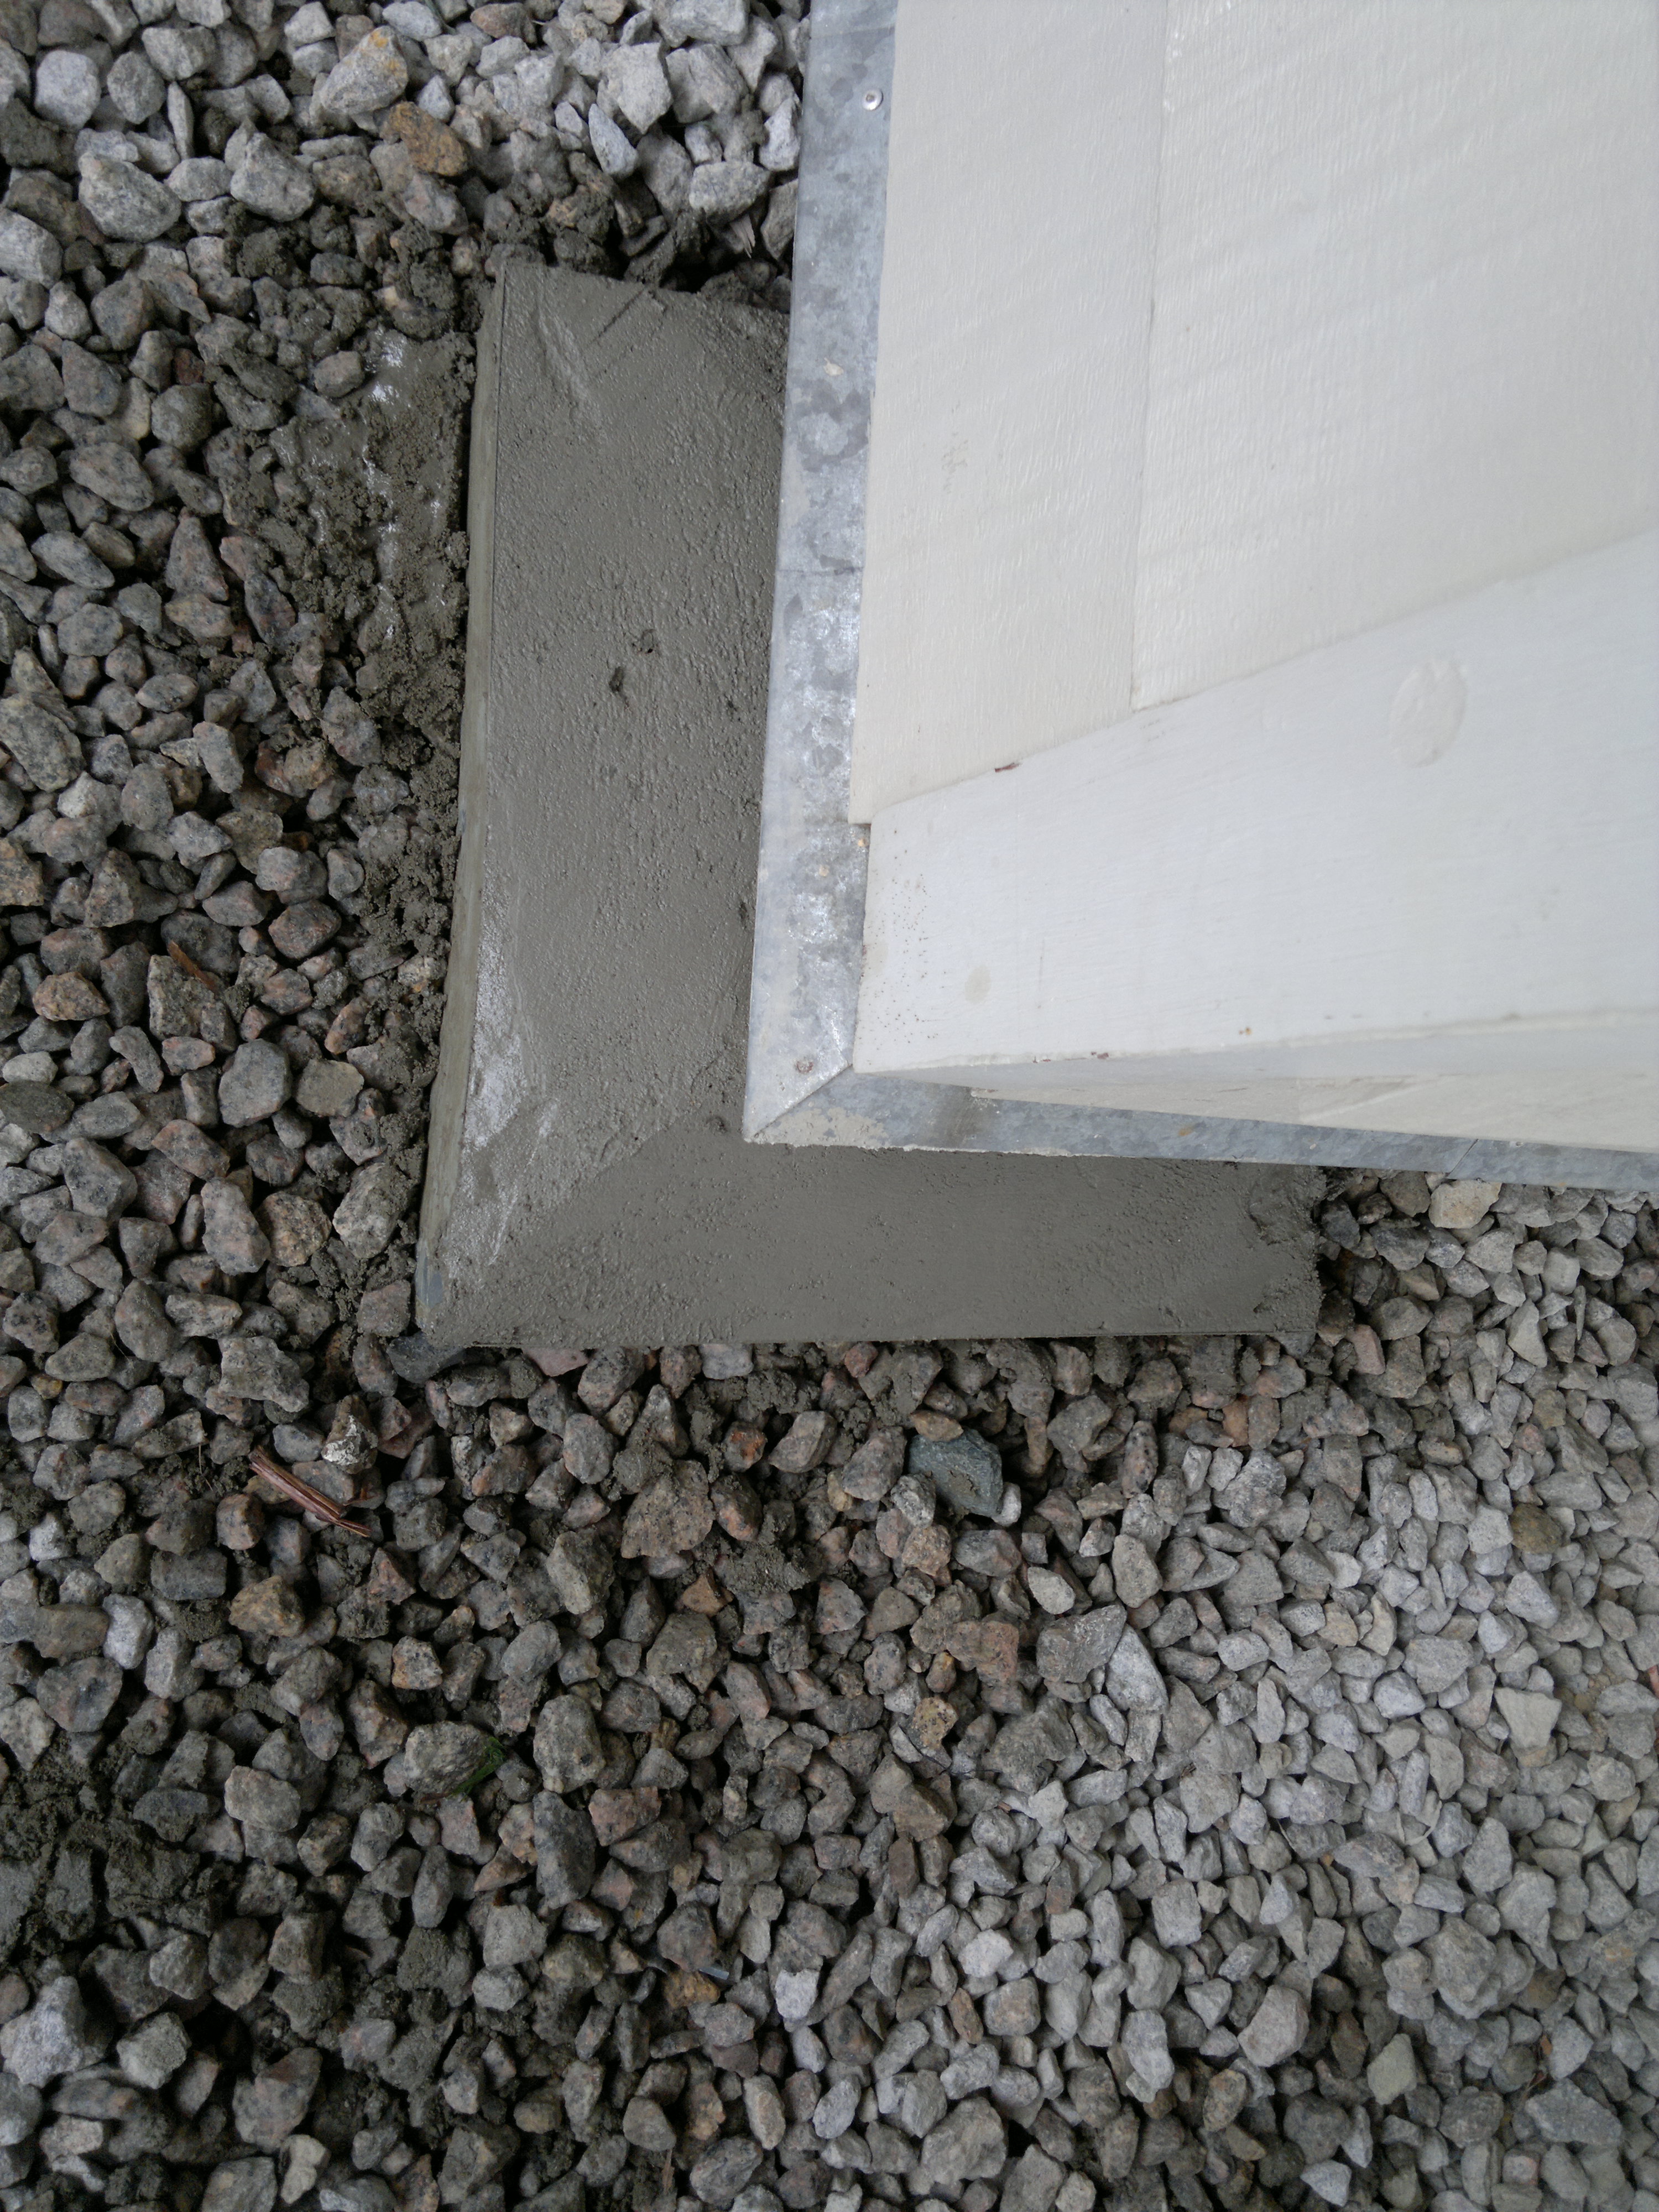
7) When each post has its boxing prepared and tested, have ready a good mix of waterproof concrete 10mm blend with some added Bond-Crete. Brush-coat Bond-Crete onto the post and surrounding concrete, put the boxing in place and carefully back-fill to hold it there. Fill the boxing with the concrete mix, and slope the top to just under the capping. Th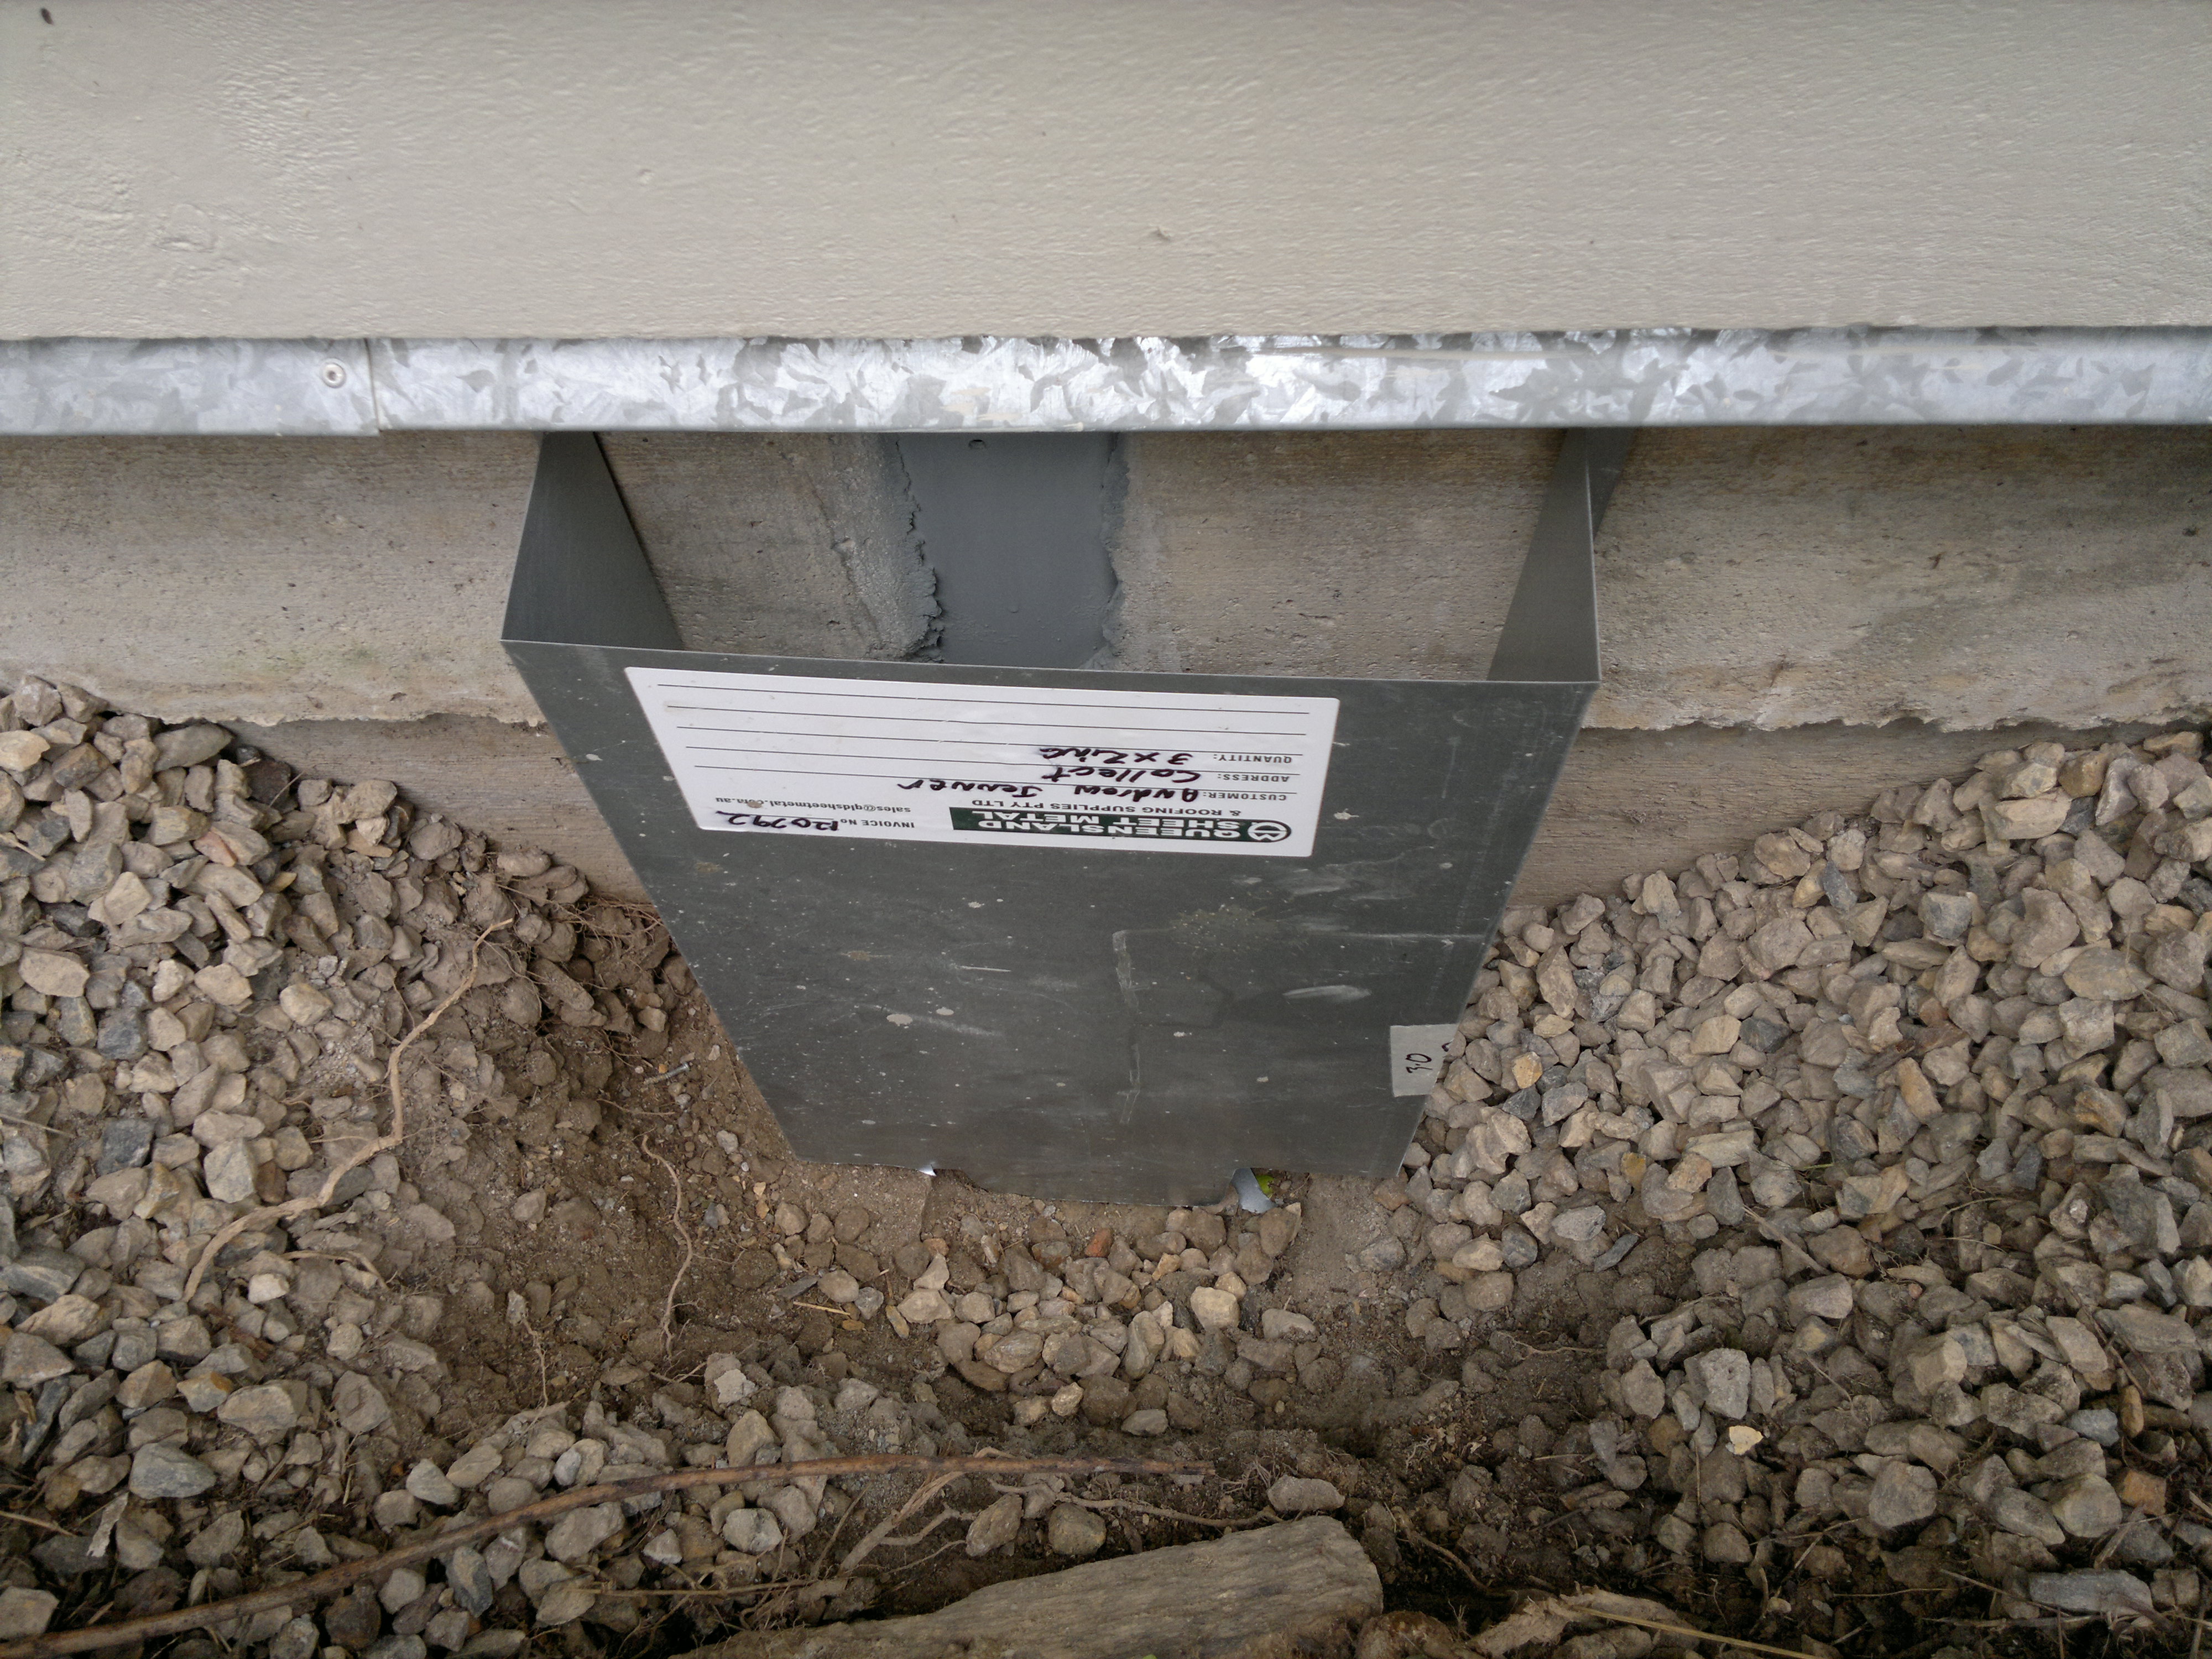 ere is no reason why this boxing should not stay in place: it’s an added chore to remove later. Perhaps use Color-bond. Job done.
Whether this 100mm cladding of concrete requires any anchor-bolts is a point, but the Bond-Crete usually makes a satisfactory adhesion. Time will tell. It’s a bodge anyway, trying to fix a bad initia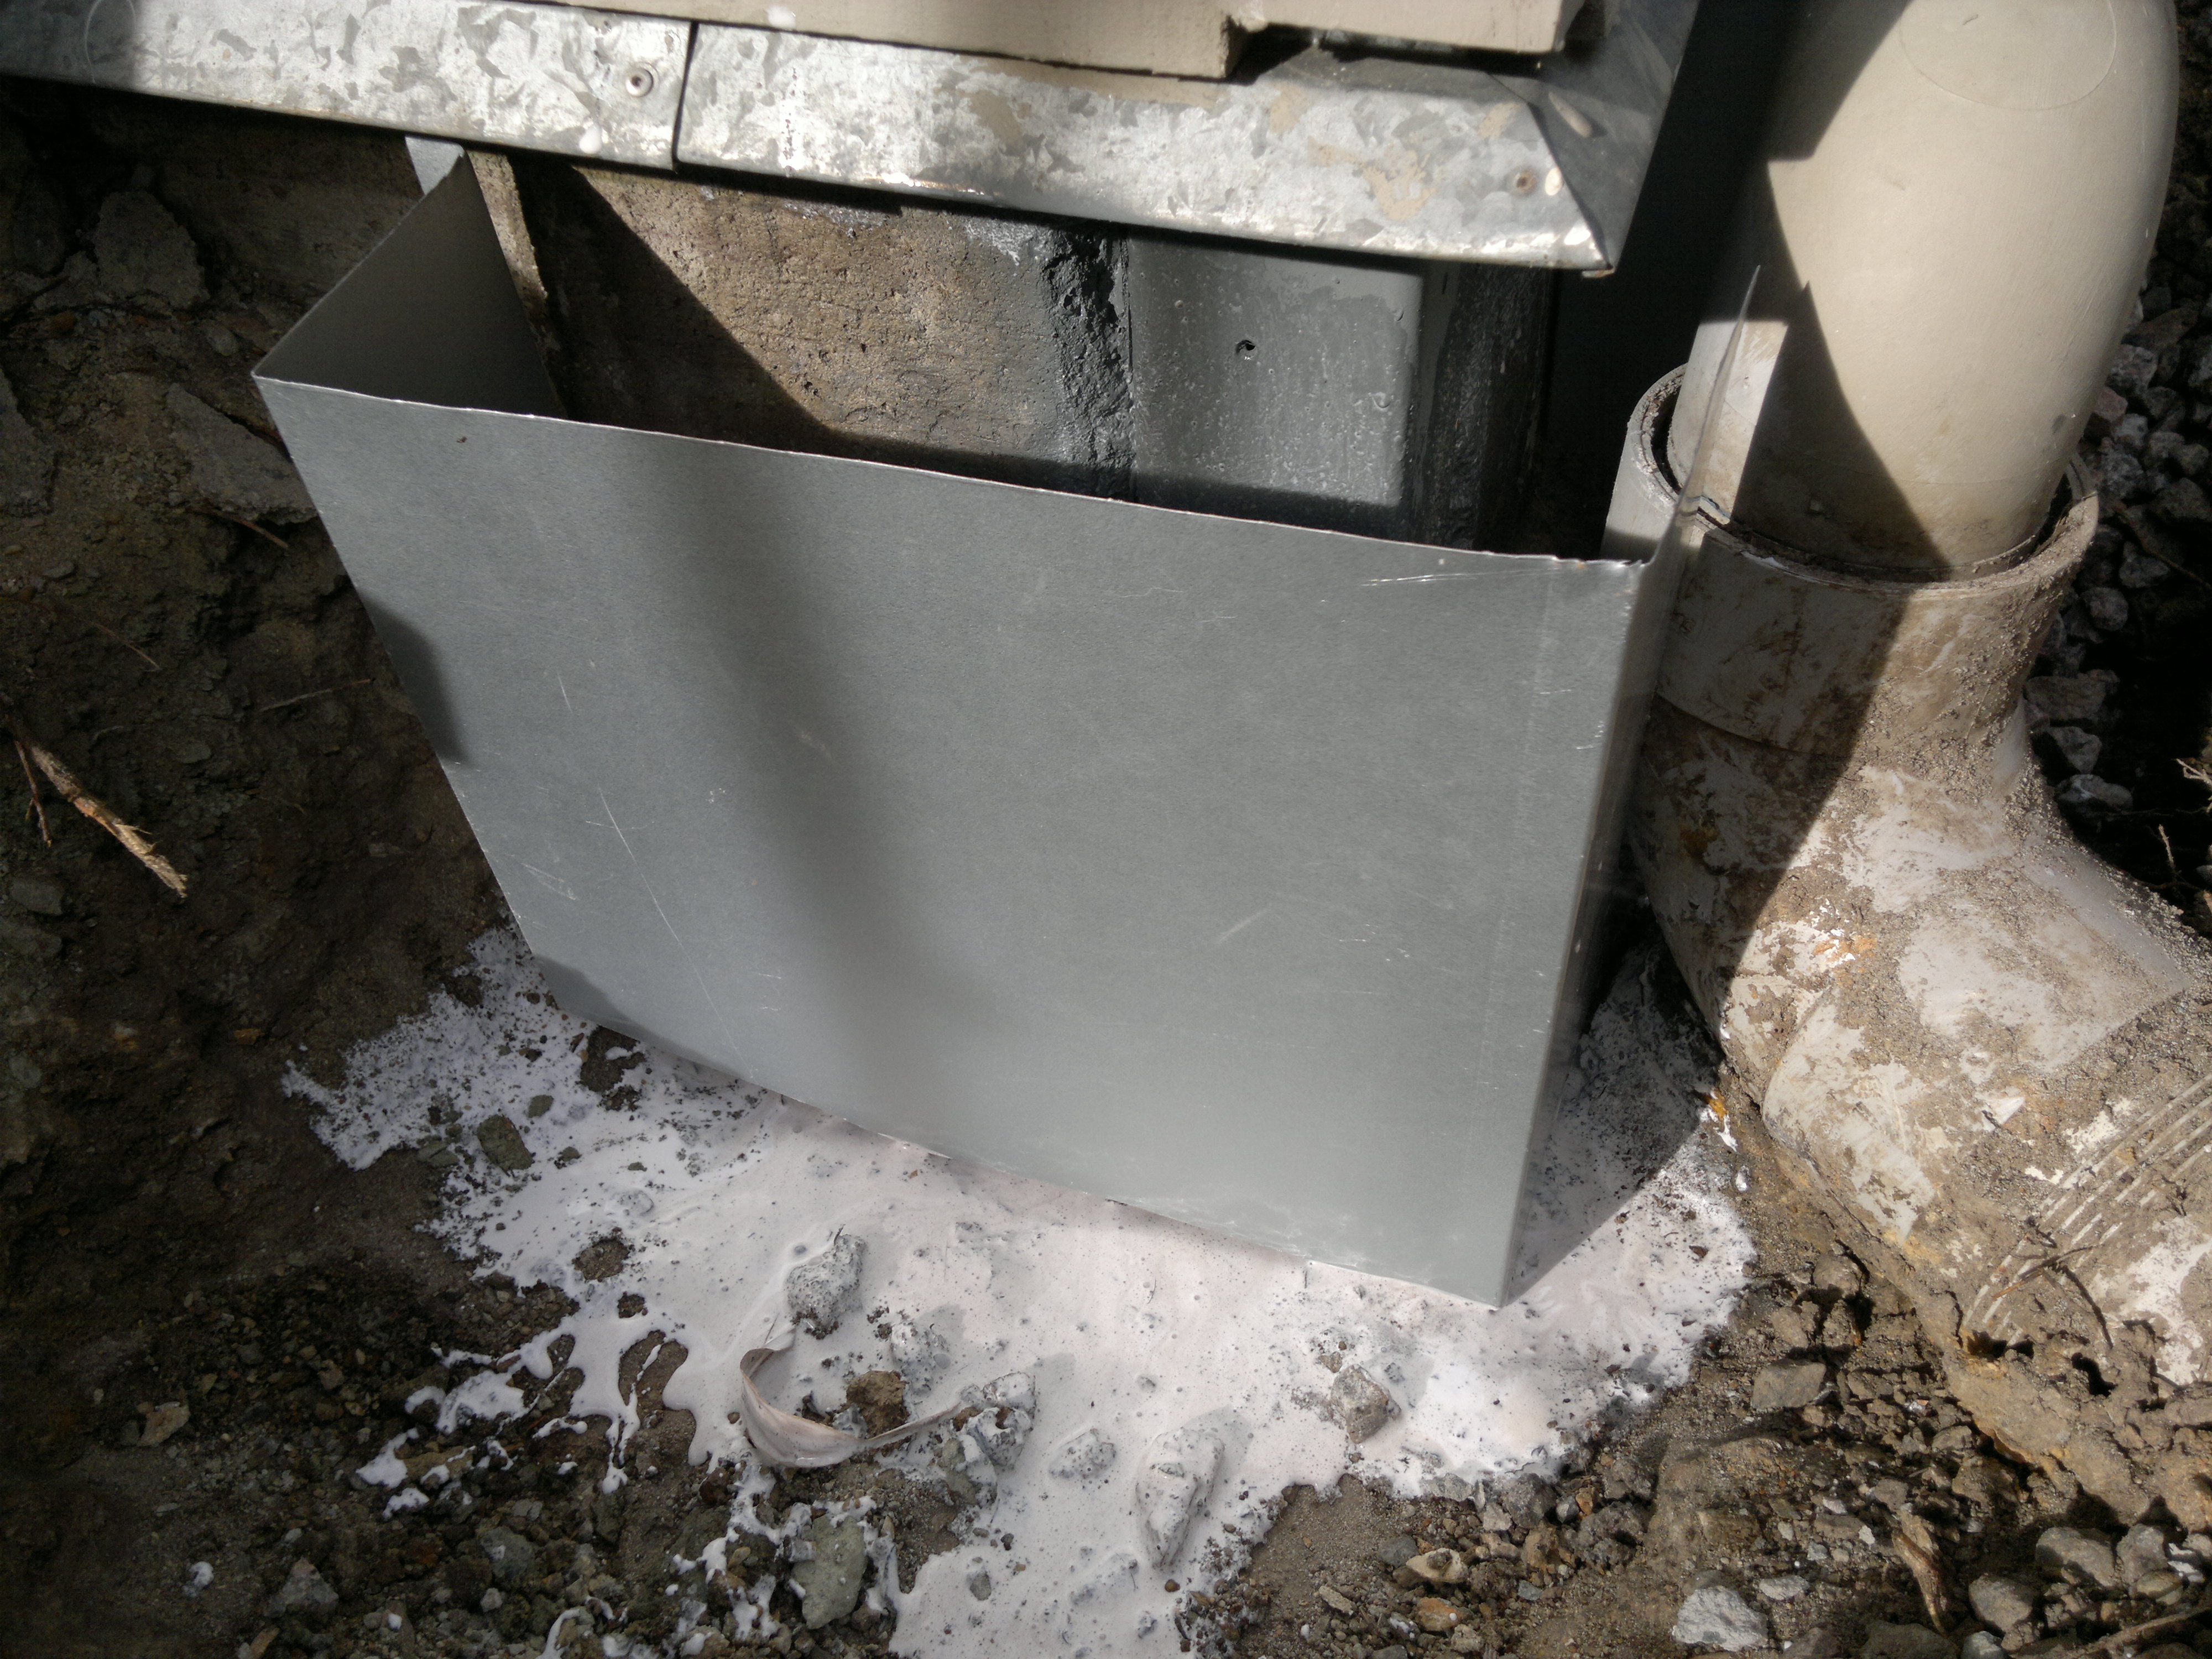 l design. Posts now must be well-wrapped at penetration to prevent electrolysis, and encased in concrete, not exposed at slab-edge.
POSTS RUSTED THROUGH; Should this be the situation, the only answer is welding. Free-standing SHS posts into individual footings  often separate completely, unseen and buried in soil. A total replacement bolted onto the original footing (the hole filled with concrete) is quicker than a repair. If the post is part of the house structure, repair is the only fix. Blast away the slab and footing as above, to expose good steel, grind it clean, cut some corner sections from an offcut of SHS and weld them like splints to the post. Then rust-converter etc. as above.
 I have photos of this process, taken for the benefit of the building inspector, and following the advice of a friendly engineer. I’ll try and get them up.
We’re all learning here.